Chers lecteurs ! Me voilà de retour avec un article qui, vous l’aurez compris, ira de pair avec le précédent car oui, après avoir été habillé.es pour les fêtes, il vous faudra également être coiffé.es, cela va de soi. Donc pour ce premier article coiffures sur le blog, je vous propose de découvrir quelques idées pas très compliquées à réaliser pour les personnes qui, comme moi, ne sont pas très douées de leurs dix doigts.
Dear readers! Here I am back with an article which, as you will have understood, will go hand in hand with the previous one because yes, after being dressed for the holidays, you will also have to be styled, of course. So for this first article hairstyles on the blog, I propose you to discover some ideas not very complicated to realize for people who, like me, are not very gifted with their ten fingers.
- Coiffure #1
avec quelques pinces -
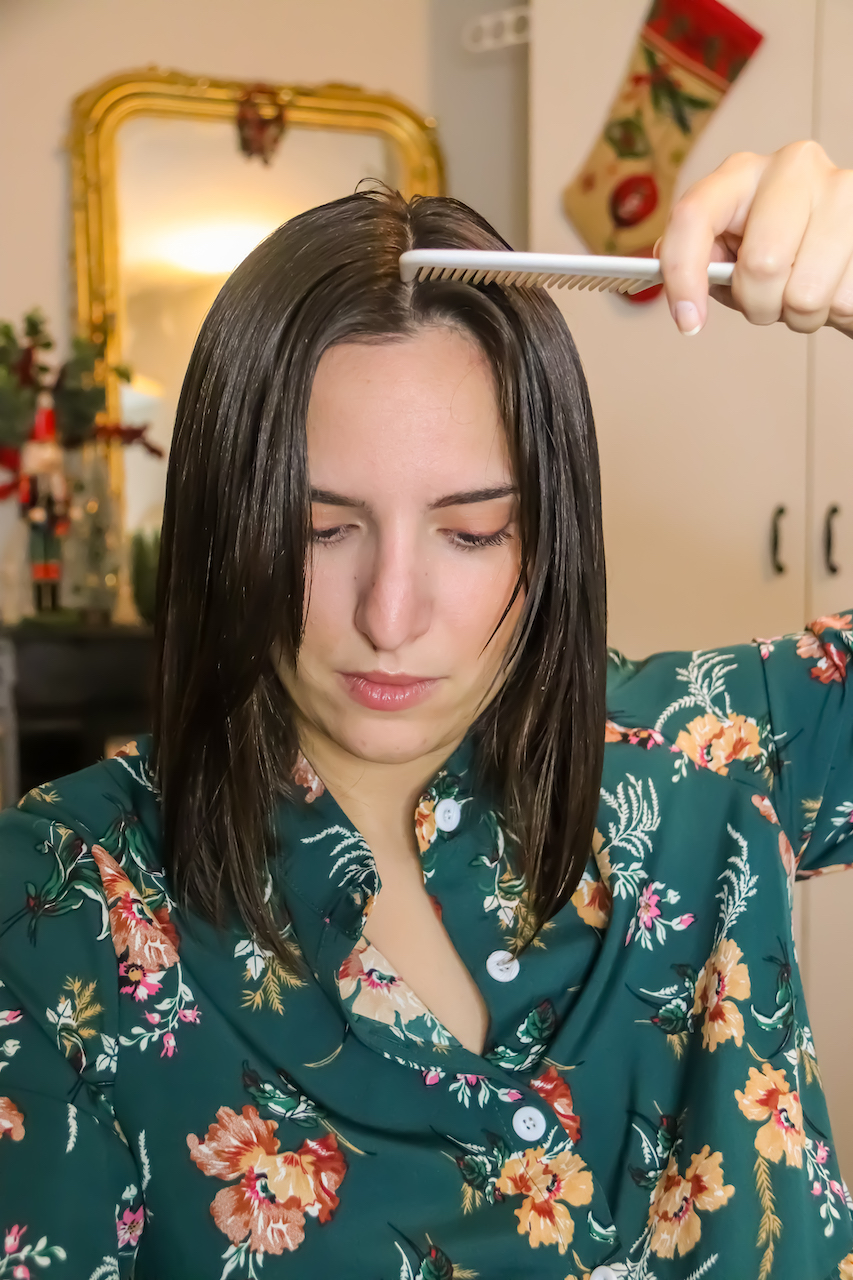
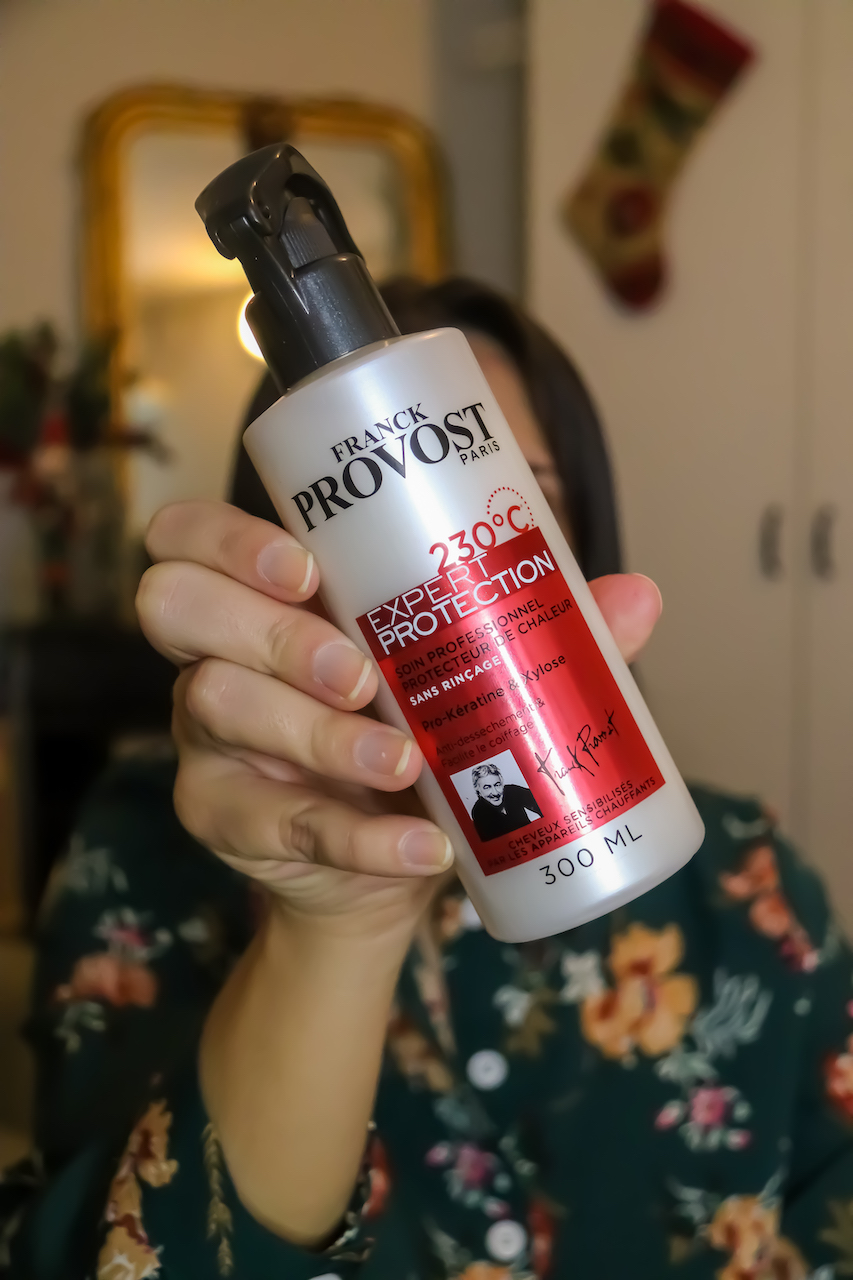
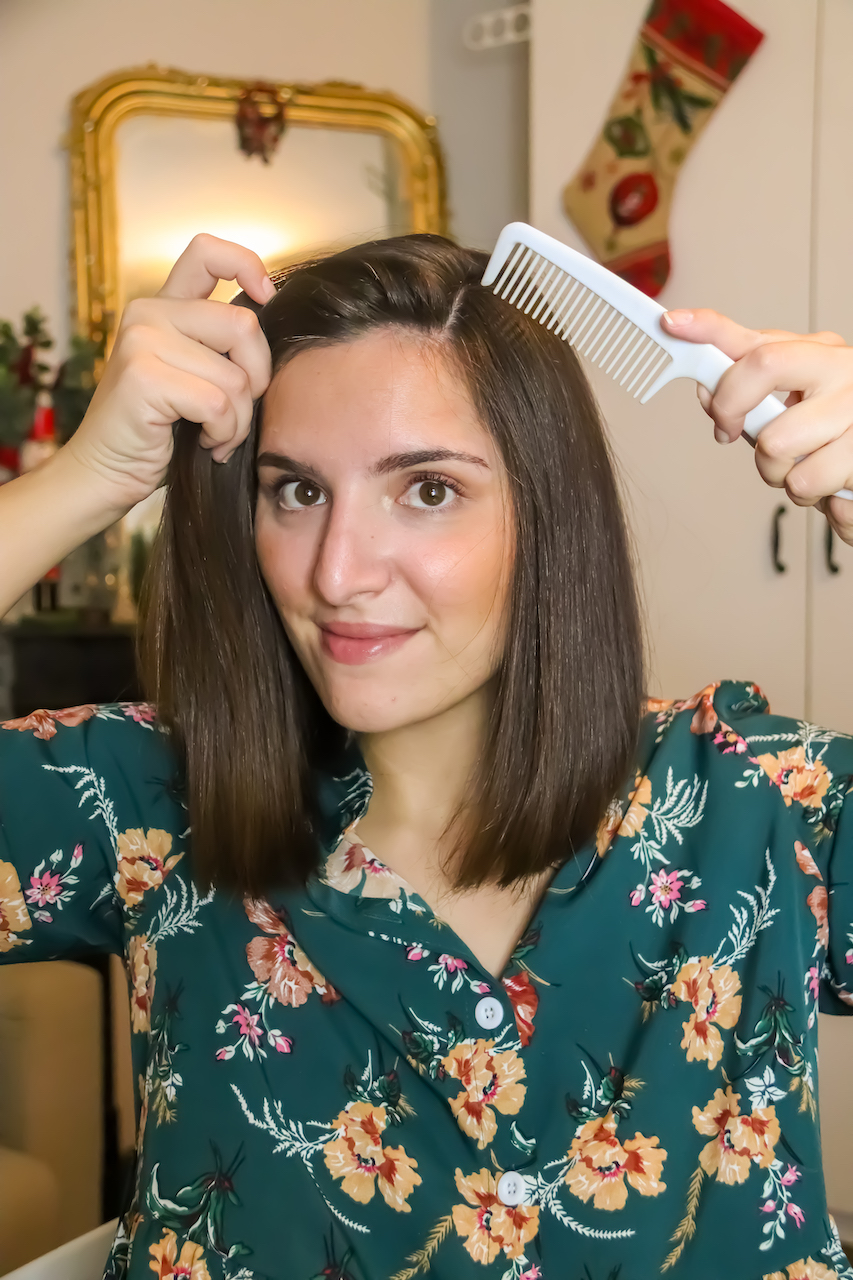
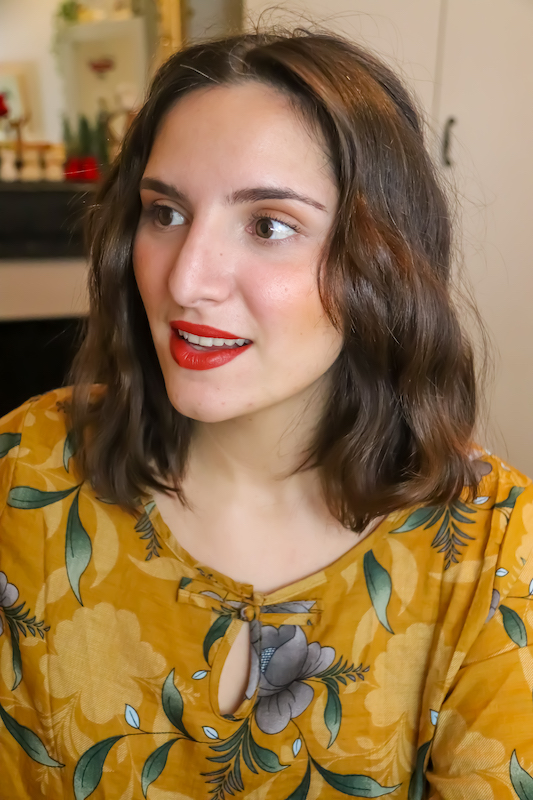
Pour notre première coiffure, rien de bien compliqué. Ayant les cheveux assez courts, je commence par les séparer en deux parties avec un peigne à grosses dents puis je les brosse avec ma brosse Tangle Teezer. Une fois démêlés, j’applique un spray protecteur de chaleur Franck Provost en privilégiant les longueurs et pointes.
For our first hairstyle, nothing too complicated. As my hair is fairly short, I start by separating it into two parts with a wide-toothed comb and then brush it with my Tangle Teezer brush. Once untangled, I apply a heat protective spray, focusing on the lengths and ends.
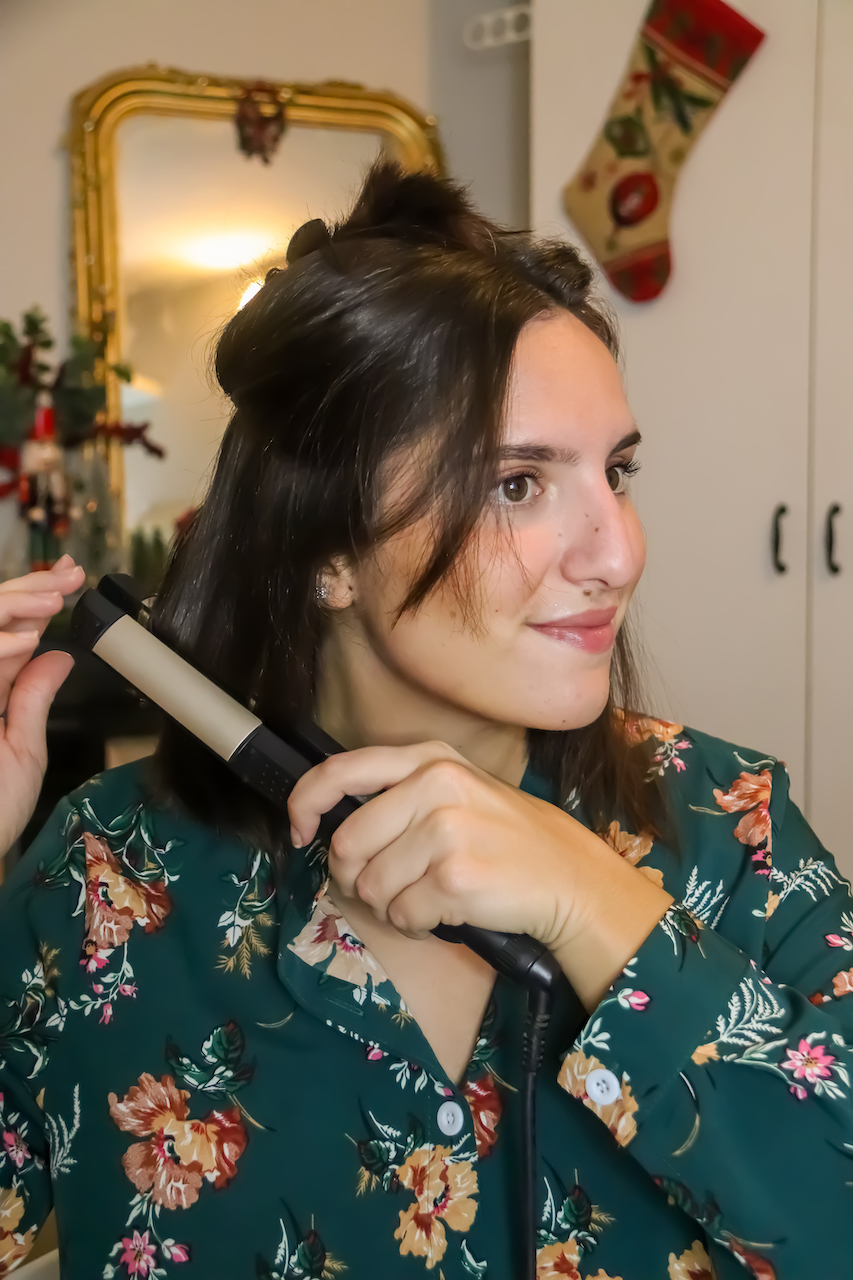
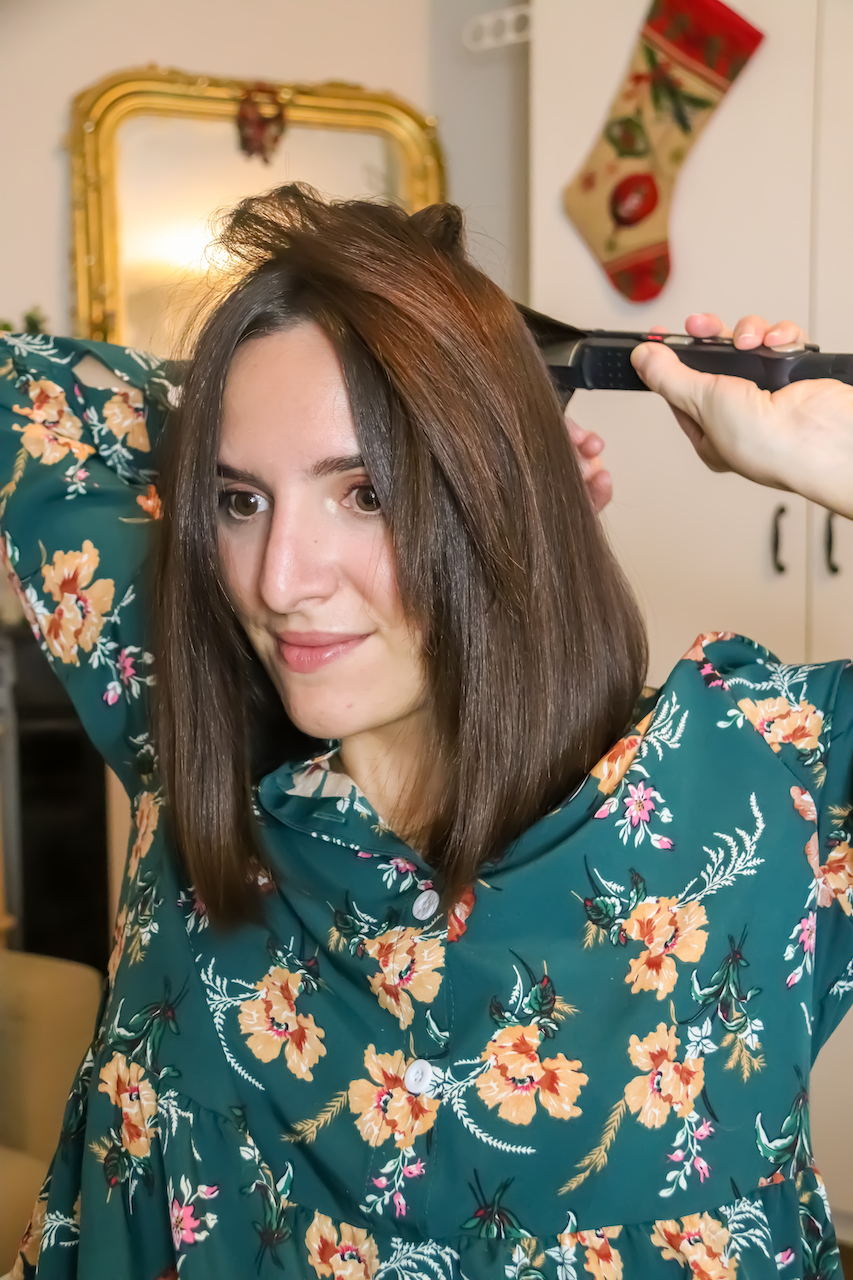
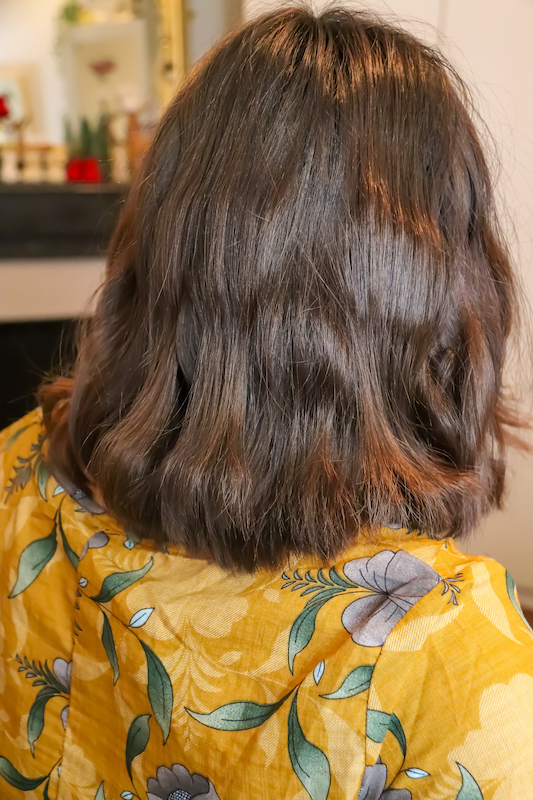
Je peux ensuite passer au séchage avec mon sèche-cheveux Calor. Puis, pour être sûre d’avoir un lissage homogène, je passe mon fer Babyliss (que j’ai depuis presque dix ans) en créant un léger mouvement vers l’intérieur sur les deux côtés avants de ma tête, puis je passe à l’arrière pour avoir un peu plus de volume.
I can then proceed to drying. Then, to make sure I have a smooth smoothing effect, I pass my Babyliss iron (which I have had for almost ten years) by creating a slight inward movement on both front sides of my head, then I move to the back to get a little more volume.
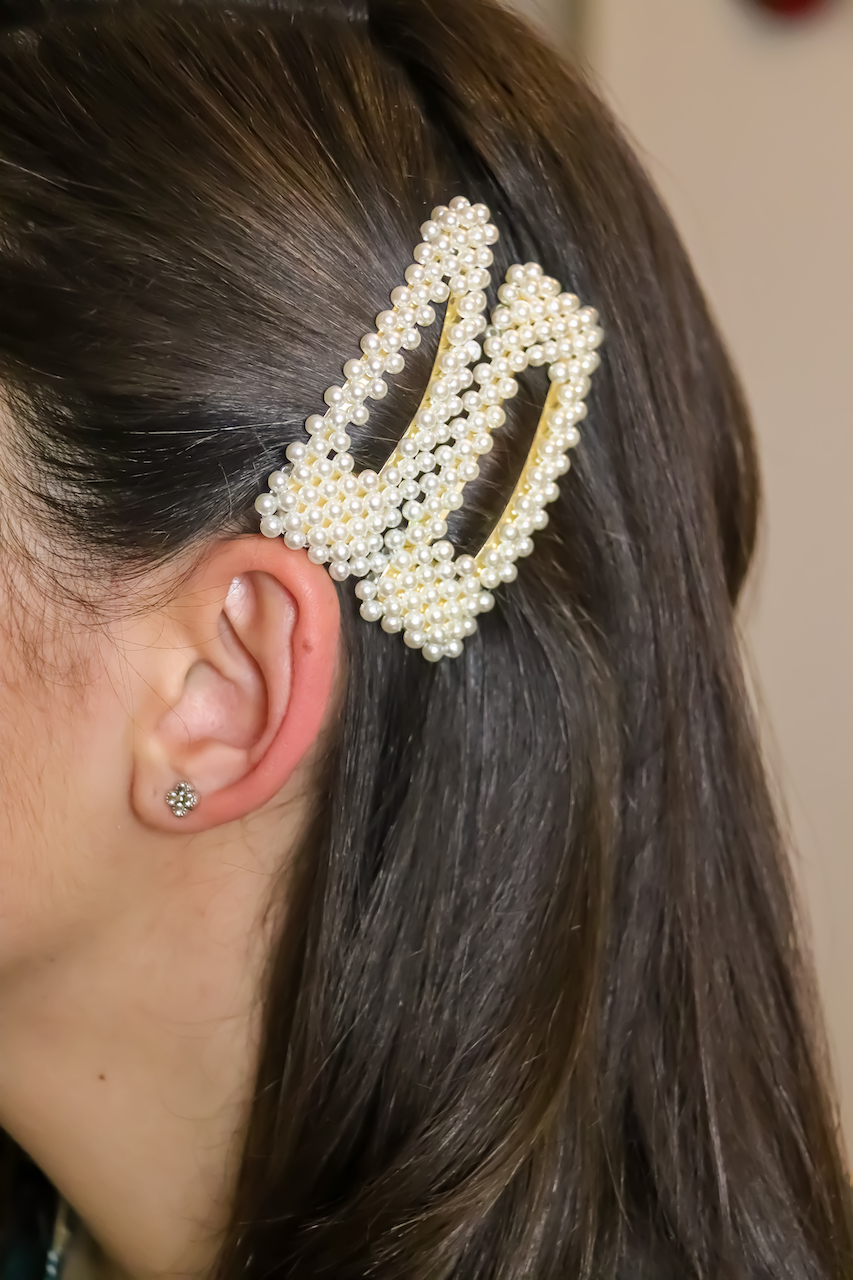
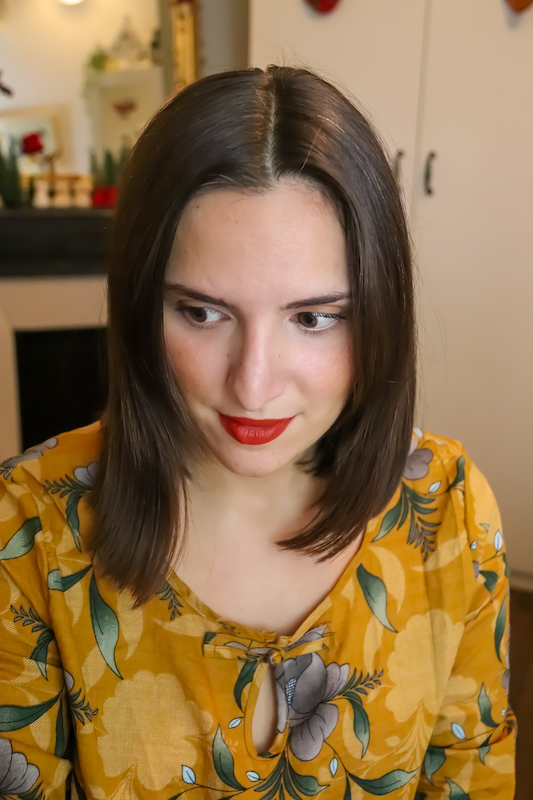
Je trace ensuite une raie sur le côté pour un effet structuré. Il ne reste qu’à agrémenter de quelques pinces en perles de chez H&M pour un style plus classique ou avec une petite fleur pour plus de romantisme.
I then draw a line on the side for a structured effect. All that’s left to do is to embellish it with a few H&M pearl clips for a more classic style or with a small flower for more romanticism.
- Coiffure #2
avec des tresses -
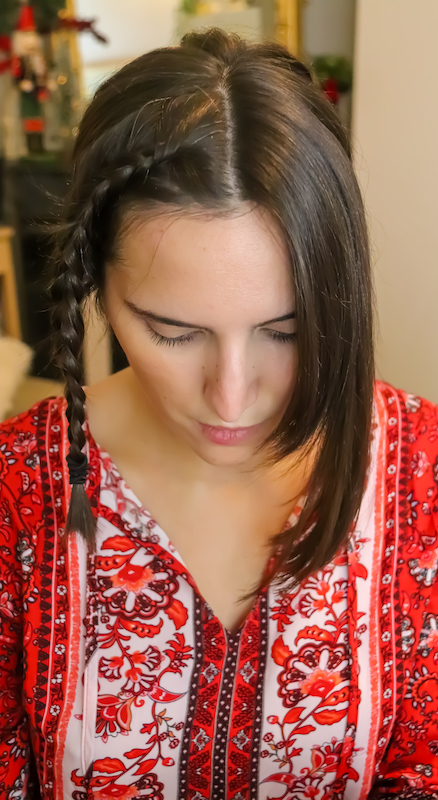
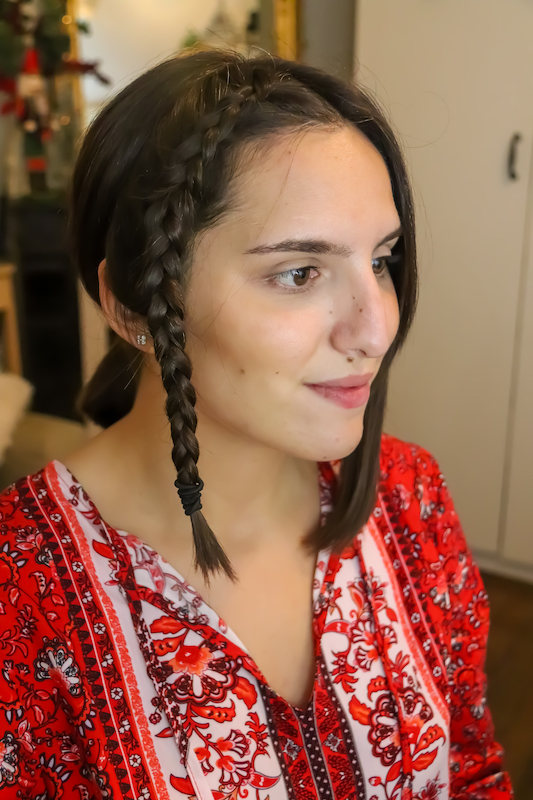
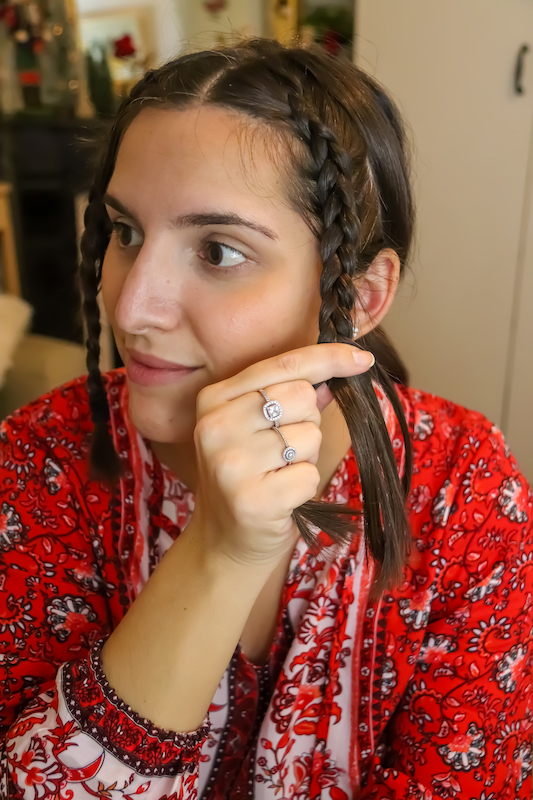
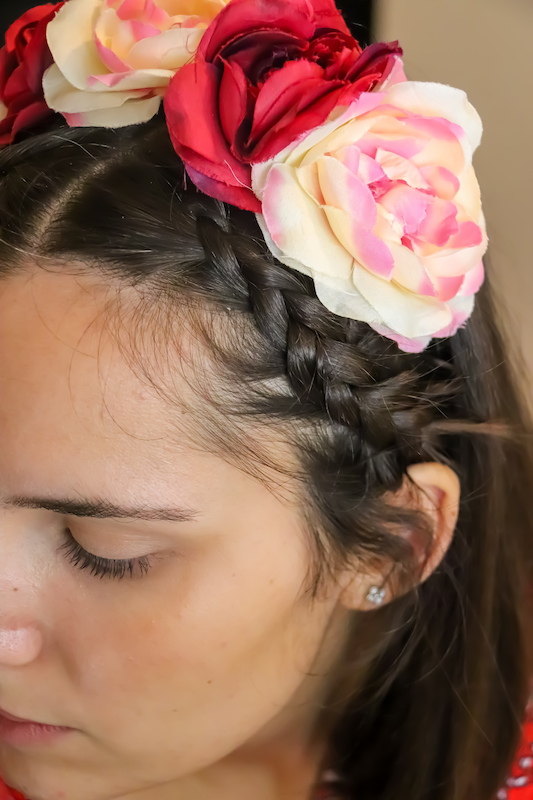
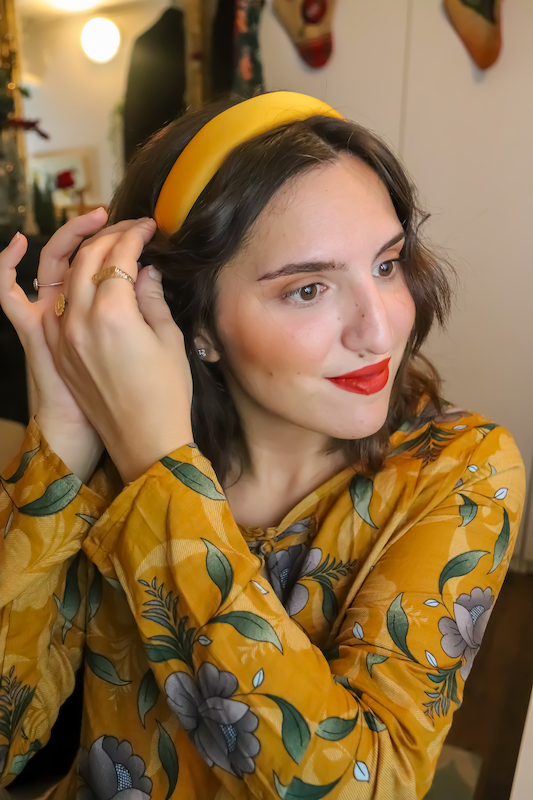
Pour la seconde coiffure, je ne vais pas vous mentir, c’était un test en direct. Commencez sur des cheveux préalablement séchés. Tracez une raie au centre de votre tête et faites une séparation perpendiculaire de chaque côté en partant du haut de votre crâne jusqu’à l’arrière de votre oreille.
For the second hairstyle, I’m not going to lie to you, it was a live test. Start on pre-dried hair. Make a parting in the center of your head and part perpendicularly on each side from the top of your head to the back of your ear.
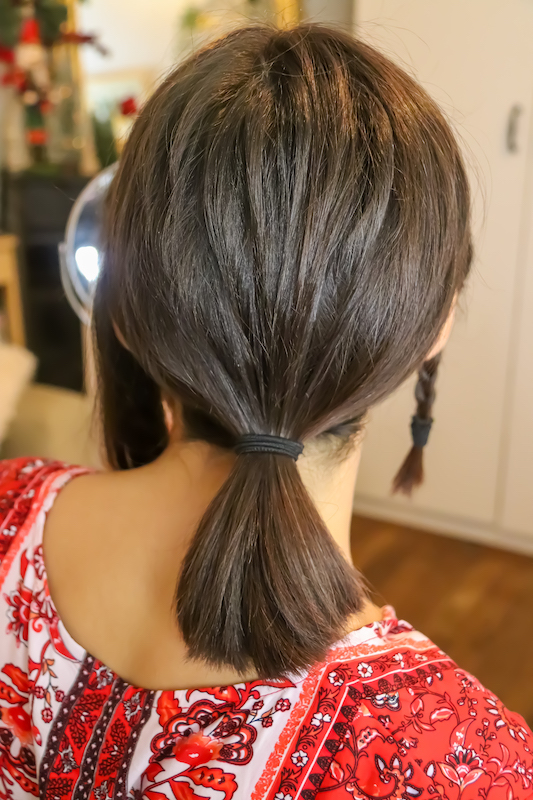
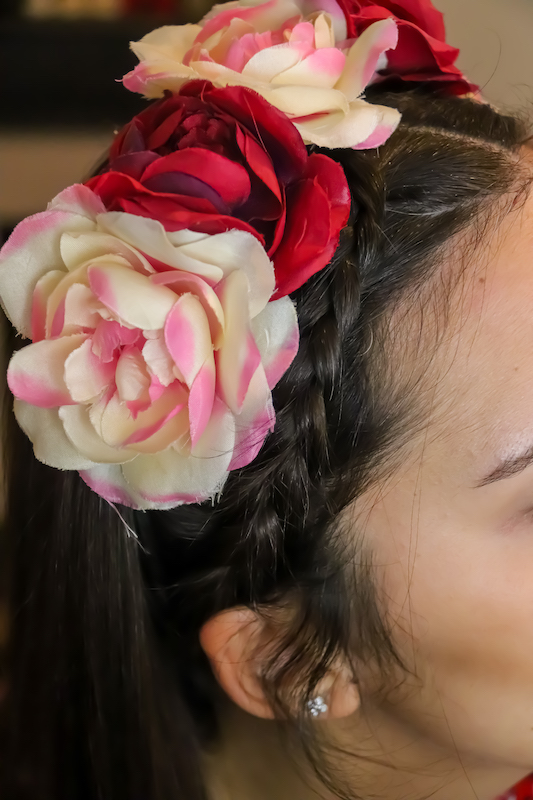
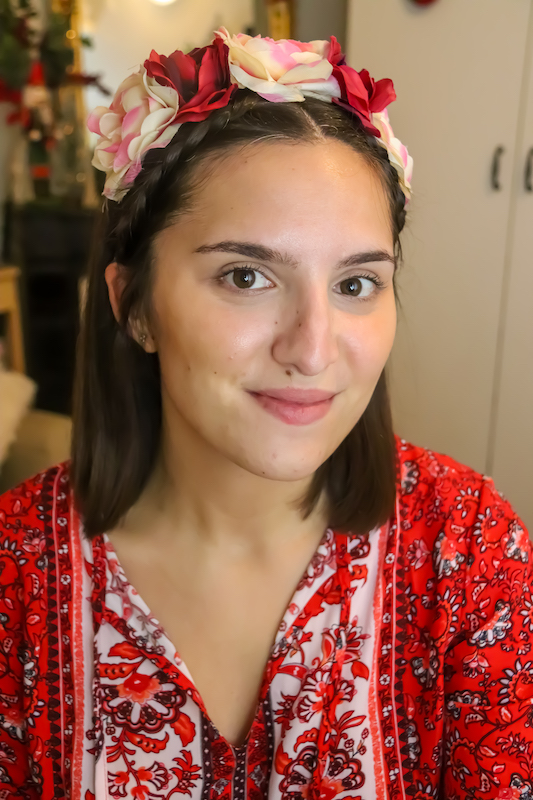
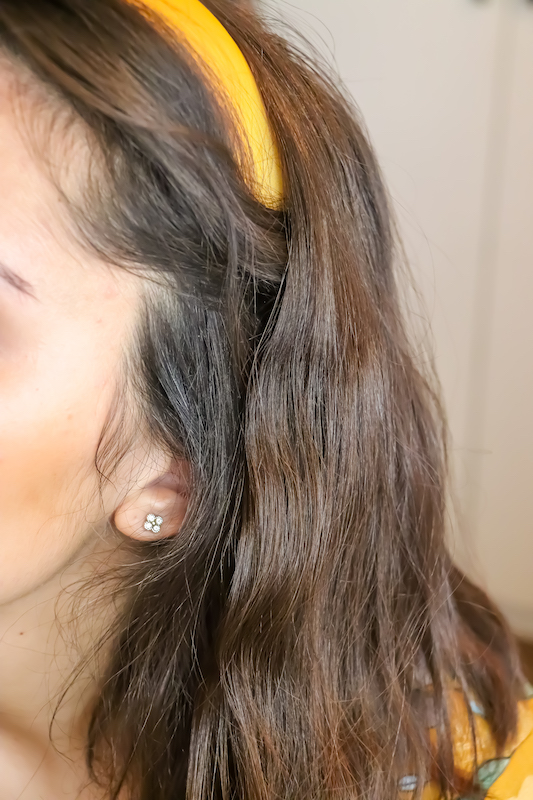
Tressez chaque côté et veillant à ce que ce soit suffisamment serré. Une fois les tresses réalisées, attachez-les à une petite mèche cachée dans votre nuque et relâchez le reste des cheveux par-dessus. Il ne vous reste plus qu’à choisir votre plus beau serre-tête et le tour est joué !
Braid each side and make sure it is tight enough. Once the braids are done, attach them to a small strand hidden in the back of your neck and let the rest of the hair go over it. Now all you have to do is choose your best headband and you’re done!
- Coiffure #3
avec des ondulations -
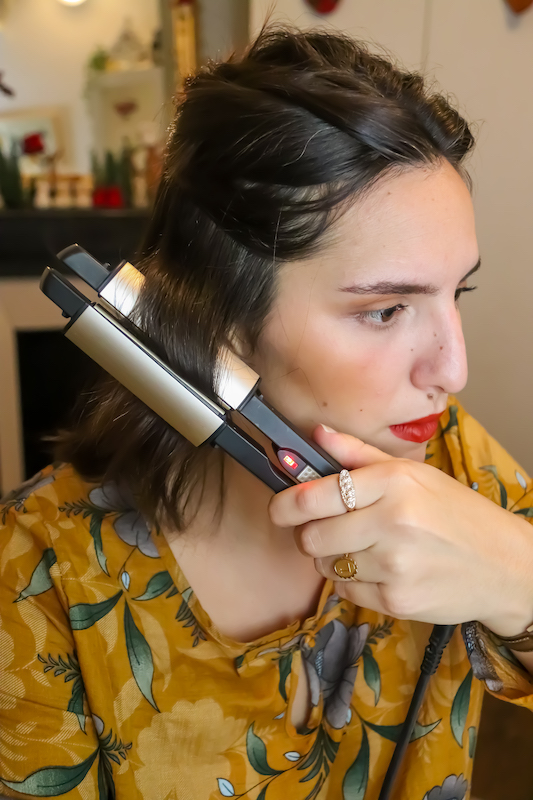
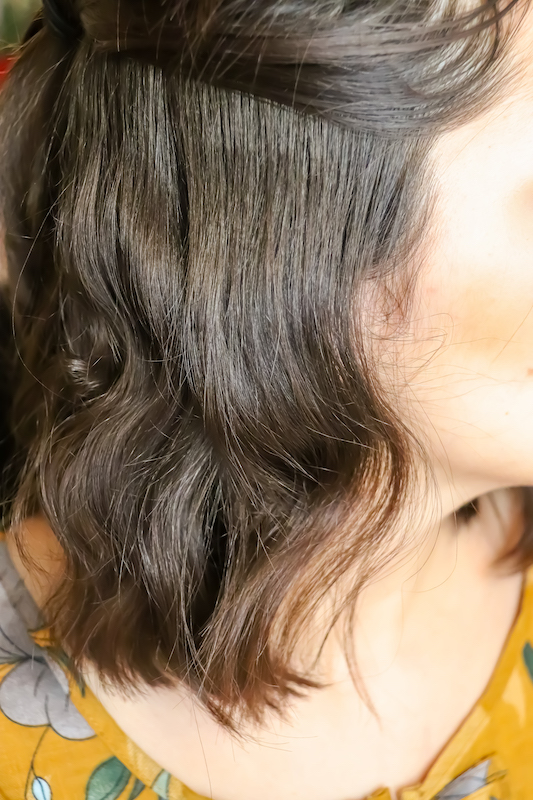
Pour cette troisième et dernière coiffure, j’ai voulu reproduire un style que l’on retrouve très fréquemment en ce moment : les ondulations au fer. Certaines marques vendent un fer dédié à ce genre de coiffures mais vous pouvez tout à fait avoir un résultat équivalant avec un fer à lisser ou à boucler. Il faut simplement prendre le coup de main. Pour commencer, tracez une raie bien droite au centre de votre tête, puis relevez la partie supérieure de vos cheveux pour onduler celle du bas. Pour l’ondulation, faites pivoter par alternance votre fer de l’extérieur à l’intérieur de votre visage.
For this third and last hairstyle, I wanted to reproduce a style that we find very frequently at the moment: iron waves. Some brands sell an iron dedicated to this kind of hairstyle but you can have the same result with a straightening or curling iron. You just need to take the knack. To start, draw a straight parting in the center of your head, then lift the top part of your hair up to wave the bottom. For waving, alternately rotate your iron from the outside to the inside of your face.
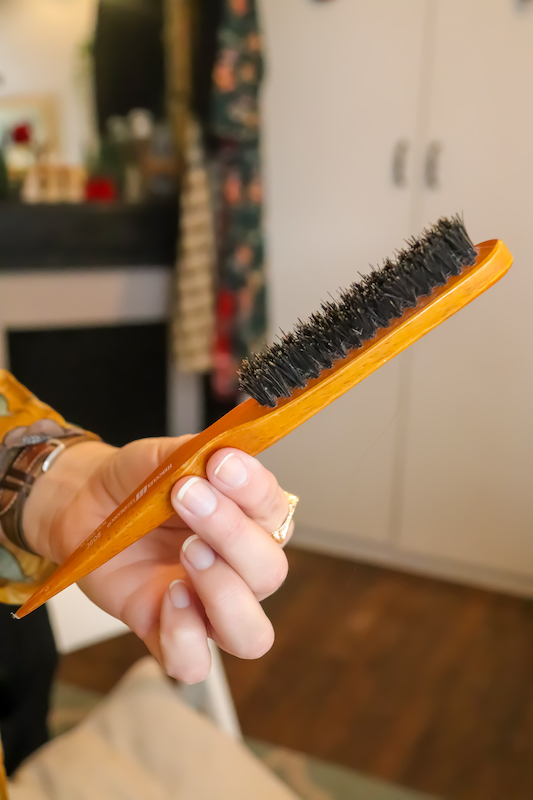
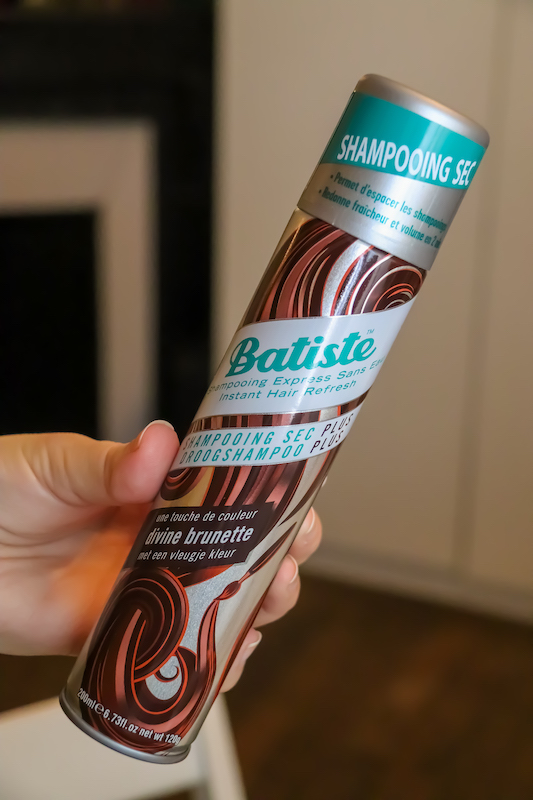
Un fois les deux parties coiffées, crêpez l’arrière de votre chevelure pour ajouter un peu de volume et scellez le tout avec un peu de shampooing sec Batiste.
Once you’ve styled both sides, crepe the back of your hair to add a little volume and seal it with a little Batiste dry shampoo.
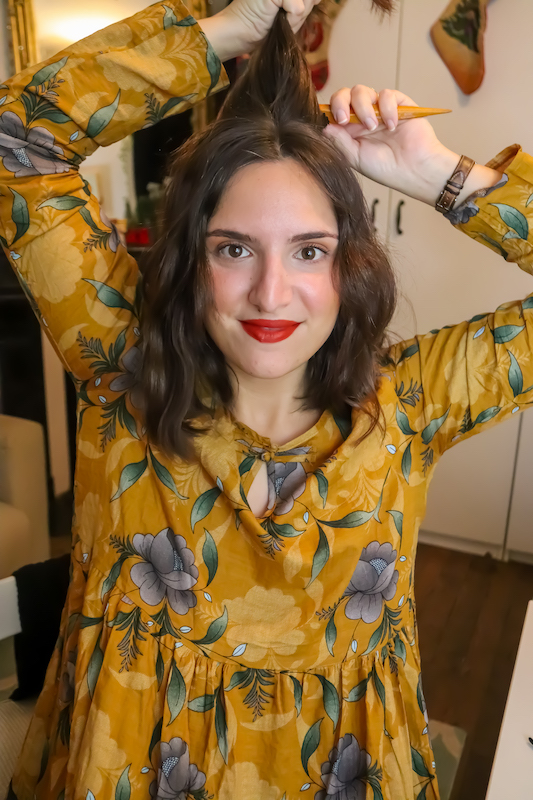
Vous pouvez vous arrêter là ou bien, si comme moi vous avez une obsession pour les accessoires de cheveux, vous pouvez ajouter un côté un peu plus romantique à votre coiffure en enroulant deux mèches de devant autour de votre serre-tête.
You can stop there or, if like me you have an obsession with hair accessories, you can add a little more romance to your hairstyle by wrapping two front strands of hair around your headband.
Voilà pour ce premier tutoriel coiffure ! J’espère qu’il vous aura plu, inspiré et aidé à vous coiffer sans vous arracher les cheveux. Si vous avez d’autres recommandations ou idées de coiffures à réaliser, n’hésitez pas à les partager en commentaires !
Here’s for this first hairdressing tutorial! I hope you’ve enjoyed it, inspired it and helped you style without tearing your hair out. If you have any other recommendations or hairstyle ideas, feel free to share them as comments!
Cet article vous a plu ? Partagez votre avis en commentaire !
Did you like this article? Share your opinion as a comment!